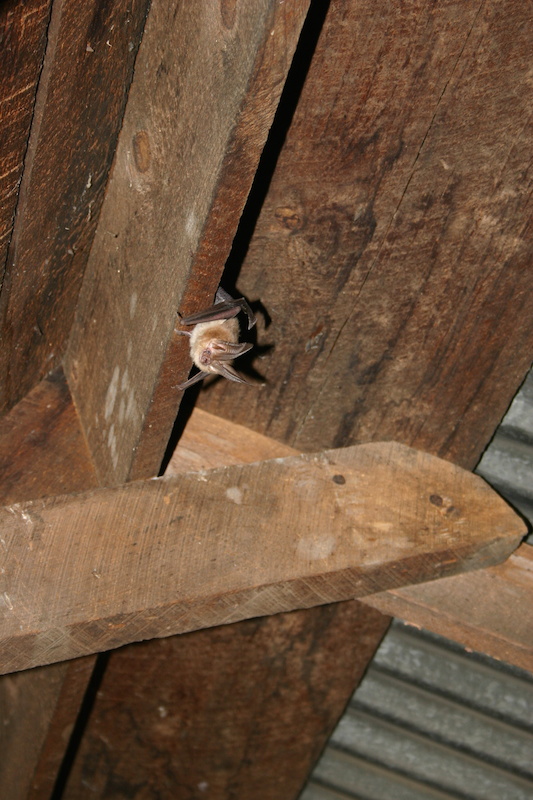
DIY Bat Removal Guide – How to Do it Step-By-Step

There are several varieties of bat species in the United States. Tt’s usually the colonizing bat types that cause issues in homes. Bats often get a bad reputation, but they are not aggressive, and are usually very beneficial in eliminating pesky insects.
Bats can become a nuisance when they roost in large numbers in a human houses or buildings. The quick and nasty accumulation of guano is unsanitary, and is a lush breeding ground for a fungal disease called Histoplasmosis, which it can be transferable to humans that breathe in the fungal spores. Bats can also carry rabies, which is a viral disease that causes progressive paralysis and death in humans and other mammals.
When you're doing it yourself, it is important to know these things. It's for your safety and efficiency for DIY (Do it Yourself) projects such as bat removals and clean ups. So, read on and learn more from The Attic Pest Authority's own DIY Bat Removal Guide.
We’ve created an in-depth article about having bats living in your attic, and this article is an actual step by step guide to humanely and effectively remove bats from your attic. None of the bats will be killed in the process.
The DIY (Do it Yourself) Guide To Attic Bat Removal
Follow this done-for-you guide below and learn how to speedily remove bats like a pro
Step 1 : Investigation
You need to find out where the bats are getting in and out of the house, where exactly they are living, what type of bats they are, and the damages they have caused. You can start by standing outside your house at dusk and observing where the bats are flying out of your house. Use a notepad sketch of your house and mark the spots that you observe the bats exiting your home. The exact type of bats is important to performing a proper exclusion, because of their different sizes, behaviors and birthing seasons. You do not want to attempt to get rid of bats during a maternity season because it will most likely end up a disaster.
It’s inhumane and illegal to trap baby bats inside preventing the mothers from being able to take care of their young. Your problems will be worse because the babies cannot fly and will crawl around your walls or end up inside your home, in search of food. Most female bats will give birth in the spring, and babies will be able to fly around the end of August, so do not try to remove bats between April and August.
Step 2 : Inspection
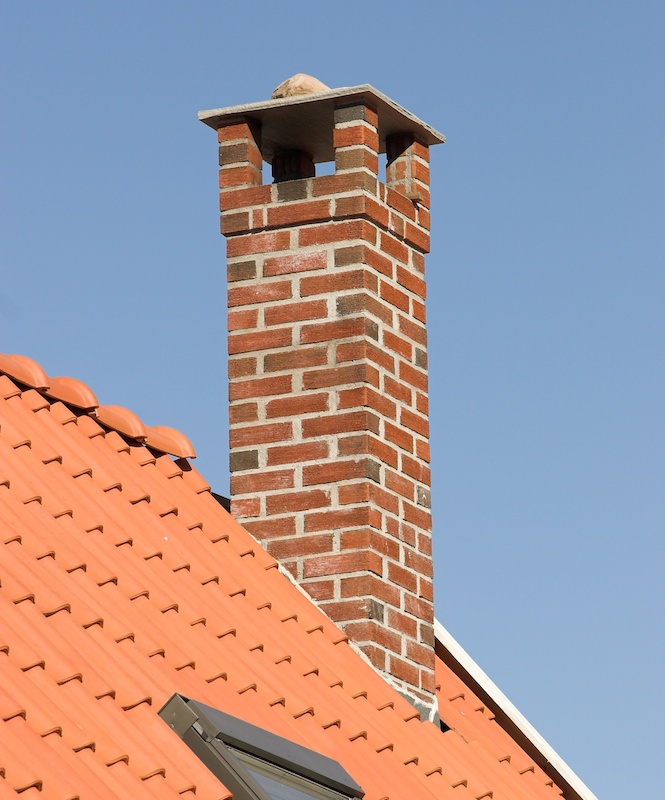
Common entry points for bats include vents, fascia boards, ridge caps, and louvers. Check any damaged areas on your house, like windowpanes that are broken or missing, warped boards, missing or damaged bricks, or any small gaps or openings. Bats can enter through a gap of 3/8 of an inch, so any small hole can be an entry point. Also look for signs like guano (aka bat droppings) on particular walls or area of the roof and urine stains in one area.

Pay extra special attention around Chimneys and roof vents
Inspect the whole house and find any gap, as small as 3/8 inch, seal all secondary gaps and holes with products you can find at your local hard ware store. Polyurethane foam, caulk, steel screening, or poly netting are all useful products that can be used to seal holes and gaps safely. Make sure that you leave the main entry/exit point open.
Step 3 : Setting Up the Exclusion
Set one-way exclusion netting or funnel on the main entry/exit point. Depending on the architecture of the house, you may need an exclusion netting, screening, funnels or cones. Exclusion netting or funnels need to be placed perfect so that the bats can fly out naturally at dusk, but they are not able to fly back inside. That is the main goal.
Unlike several other pest removal methods discussed, It sounds simple but it is difficult to get it just right. And it is critical that it is done perfect. The device has to be placed on the exit hole in a way where the bats can fly out naturally as they usually do. They will have to crawl out and fly out or flutter down through the exclusion device. If there is something obstructing the hole they will not exit the house. The device has to be place perfectly so that the bats will not be able to fly back in when they attempt to return.
Step 4 : Observation
Observe your house at dusk and make sure all of the bats are getting out of the one-way device and that they aren’t able to fly back in. If it is not working correctly, remove it right away. If it is working properly, leave it in place for at least 3 days. So, if you are not sure if a bat is really invading your home then go to this page.
Step 5 : Check up
After you are sure that all of the bats have left the house and none have returned. Remove the netting and immediately seal the last entry gaps or holes. Make sure you do the job correctly because bats live a long time and they can remember for a long time. They will attempt to re-enter your home for a very long time, maybe even the next few seasons.
If you are unsure what bats can do to your home or you, then please read this.
They will not be able to chew or claw their way back into your home, as long as you have done the job right. Use the same materials as listed above for sealing the hole.
Step 6 : Clean up
Clean up the bat guano, decontaminate and deodorise the entire space. In most cases, the bat guano can corrode wood and drywall, and then mold will grow. The mold can cause health problems for some people, so it is important to toughly clean and disinfect the area.
If you follow each step carefully you should be successful in removing bats from your house attic (click here) with no issues. If you do not feel like you are capable of completing the task on your own you can contact a professional, which we recommend 9 times out of 10.
